Winnebago Entry Door Rattle
James Exler, Nampa, ID 6/17/2021
While traveling, the entry door on our 2007 Winnebago Journey made a metallic rattle sound. If I tap on the outside panel, it sounds like the skin is bumping into a metallic object inside the door.
My thought was that some linkage to the door latch mechanism was hitting the panel.
First, I had to remove the inside plastic door panel. Be sure to remove the plastic bracket for the screen door near the latch.
Below the window on the outside is an additional outer skin that is pop riveted to the frame around the edges. On my coach, this panel is painted to match the full body paint on the coach. Once I had the interior exposed, I realized that the “rattle” was the outer painted panel hitting the inner panel of the door. If I pushed the outer panel inward, I could feel it contact the inner and try to stick but it would spring back out again as if a bond was broken.
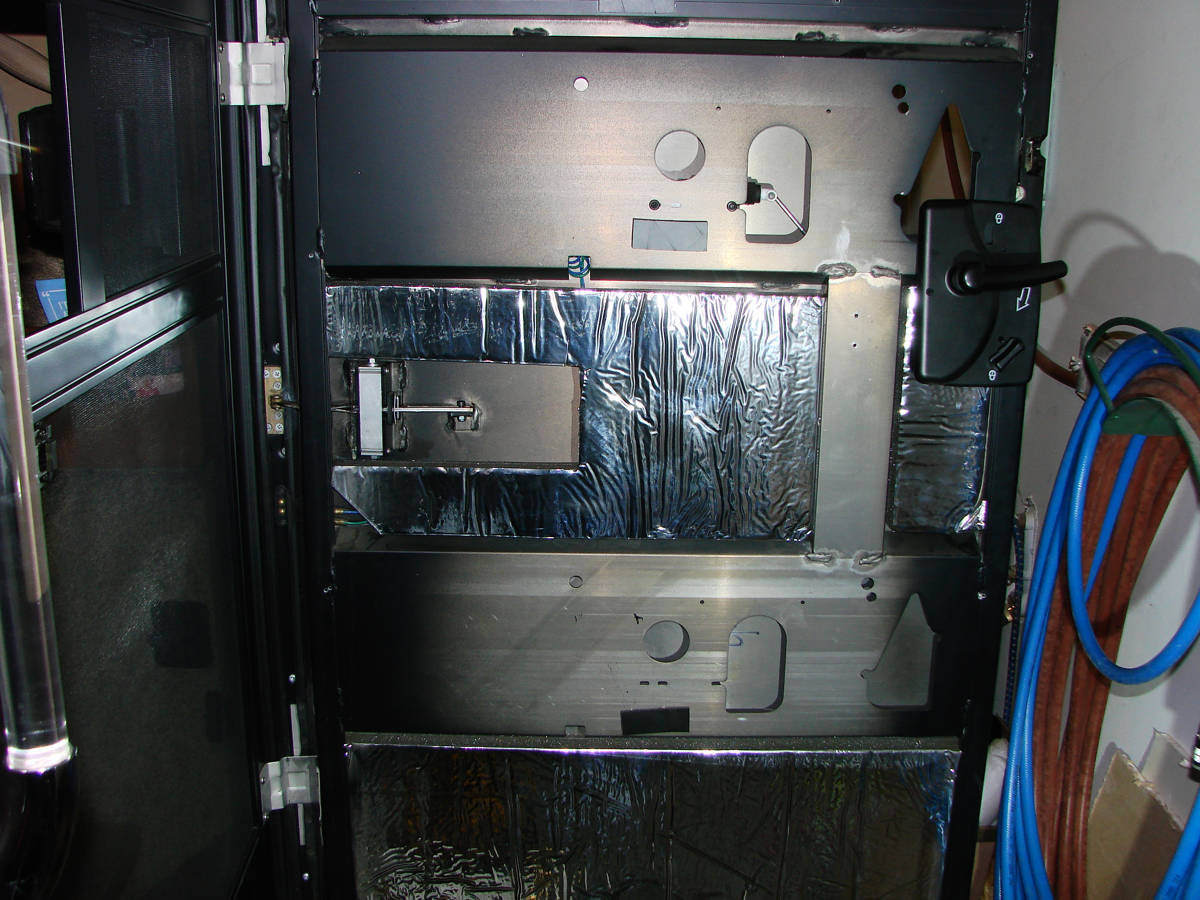
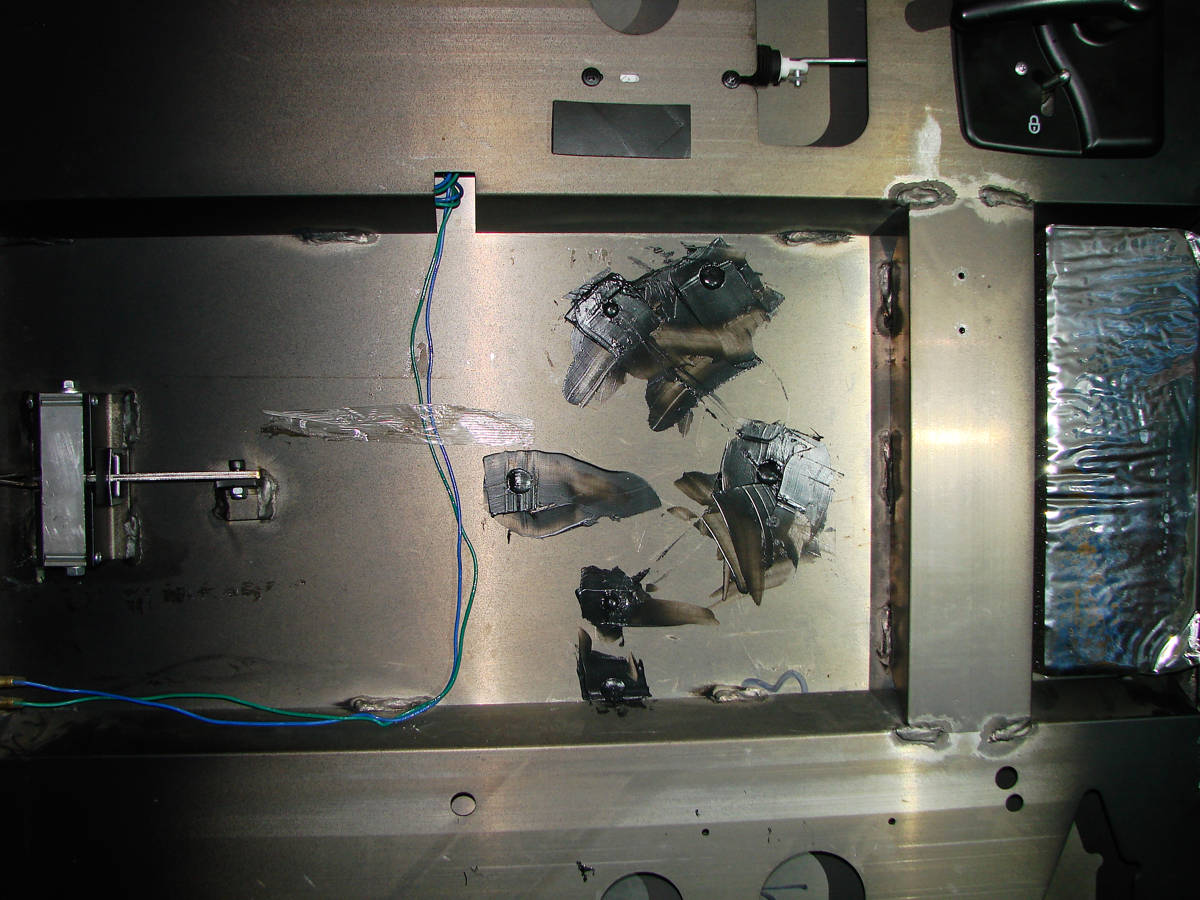
This shows the inside of the door with the panel removed. Construction is basically all welded aluminum. There is a frame with a flush outer panel and the inner “channels” added as shown above to reinforce the frame and provide mounts for components like the door lock and release solenoid. These are 1/8” thick.
My thought was to drill some holes in the inner panel without touching the outer and then apply some adhesive caulk to hold the panels together and stop the rattle. The most likely location for these would be in the area where the hold open device was located so I had to remove the foam insulation to gain access to the panel. Firmly pulling outward on a sharp angle allowed me to remove the foam without damage. Slow and steady was the secret and the sticky face released and is able to be reused.
Guess what I found under the foam; the factory had drilled two holes as shown below and used a black sealant similar to butyl. It had lost its bond with the outer skin. Looks like my idea for the repair is correct; just need to use a better adhesive caulk.
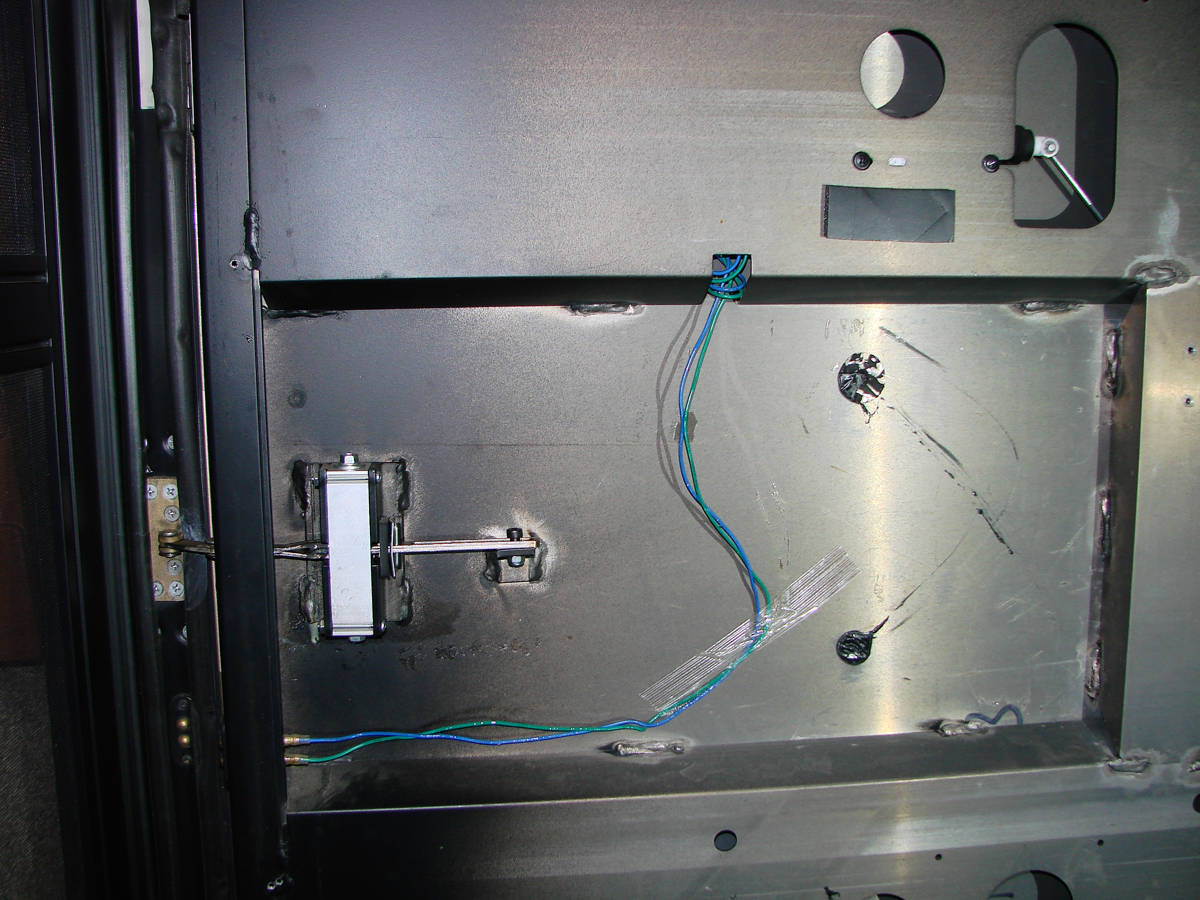
On the left is the door “Hold Open” device in case you ever need to work on that and the wires go to the latch release solenoid shown at the top right.
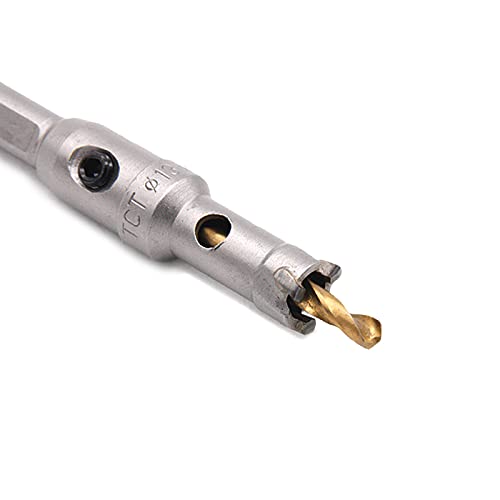 |
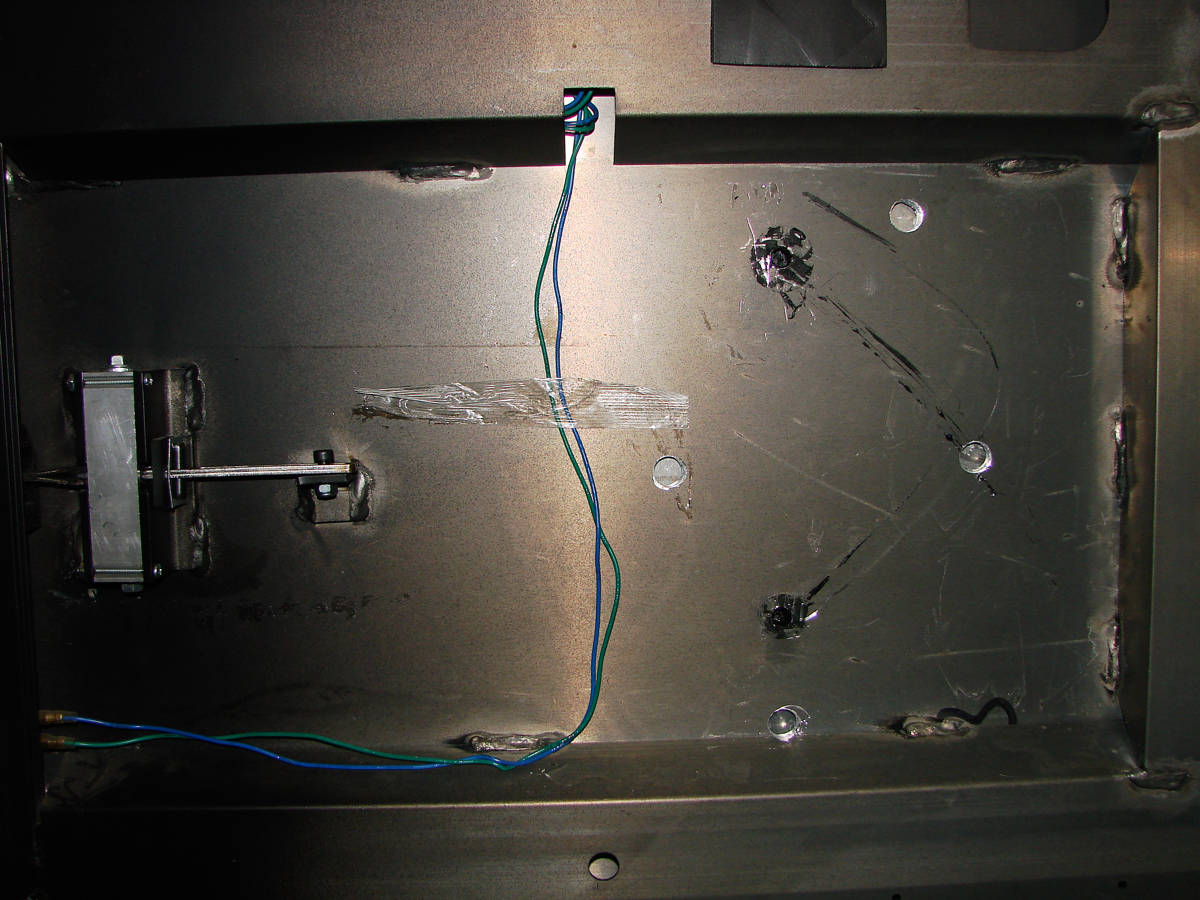
With the door latch assembly removed, the outer skin will move outward enough that I could use a small 1/2” hole saw and cut additional holes in the inner panel. I found a carbide tipped hole saw on Amazon and replaced the pilot drill with one cut to a length that would only project about 1/8” beyond the saw teeth so I did not hit the outer skin. I added 4 new holes as shown and cleaned as much of the factory sealant from their holes as I could. By temporarily installing the door latch mechanism and leaving the screws as loose as possible, sealant could be applied through the holes (6). I used a polyurethane flashing caulk (PL Roof and Flashing) which has a high bond strength and is also flexible, for my sealant. With the tube in my caulking gun, I moved the nozzle around each hole to build a “pad” inside and then filled the hole. This should provide a secure bond. |
Once you have applied the sealant, tighten the door latch screws to pull the panels together to their normal position and if some sealant has pushed out of the holes (this is good, it means you have plenty of sealant applied), use a putty knife and smooth it out.
The sealant will take about 3 to 7 days to cure so be patient; you don’t want to disturb the bond.
Now all you have to do is remember where all the parts go and put it back together.