Add A Soundtraxx Decoder To An Atlas SD24 (3/2020 ver)
Jim Exler, Nampa, ID September 9, 2022
Steps to Remove the Shell.
1. Take off the couplers first.
2. Remove the plastic fuel tank from the frame by pulling down on the fuel tank.
3. Grab the part of the frame from which you removed the fuel tank with one hand, and grab the cab with your other hand. Watch where you put your fingers so that you don't break the handrails and other small detail parts. With the tank removed, you can see the two center retaining clips and gently move them inward with a screwdriver. Squeeze gently on the shell at the ends in the area of the other clips to release them. It is a bit of a challenge.
4. Slowly pull upwards to work the rear part of the shell off of the frame. Then work on the front part of the shell. You will have to work a little harder on the front part of the shell. Make sure that you work both ends loose separately; don't just pull in one motion. Once the shell is loose from the frame, you can set it aside, there are no wires to the shell as the lights are mounted on the chassis.
 |
|
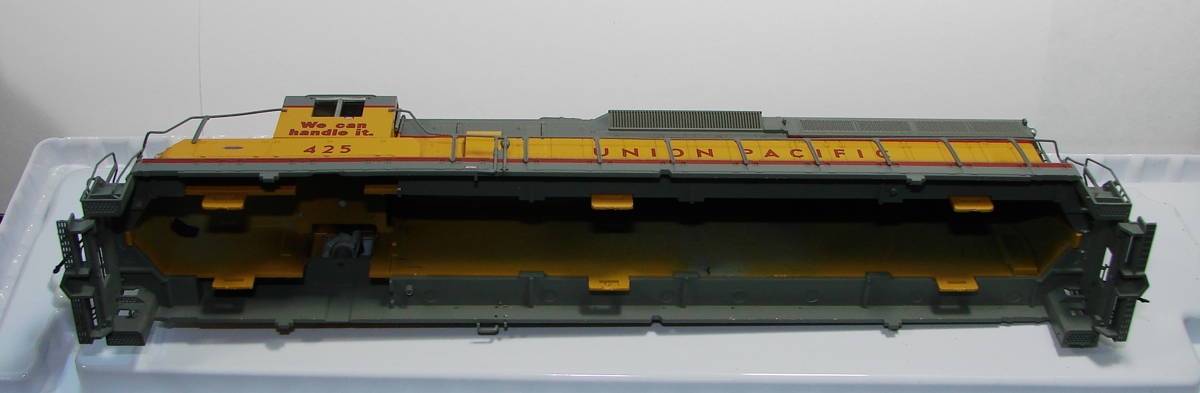
| This view shows the shell and you can see the 3 molded retaining clips (gold) along each side. They hook onto projections on the frame. The shell is a tight fit. Note that the lights are all mounted on the chassis so there are no wires in the shell to deal with. | |
 |
|
 |
|
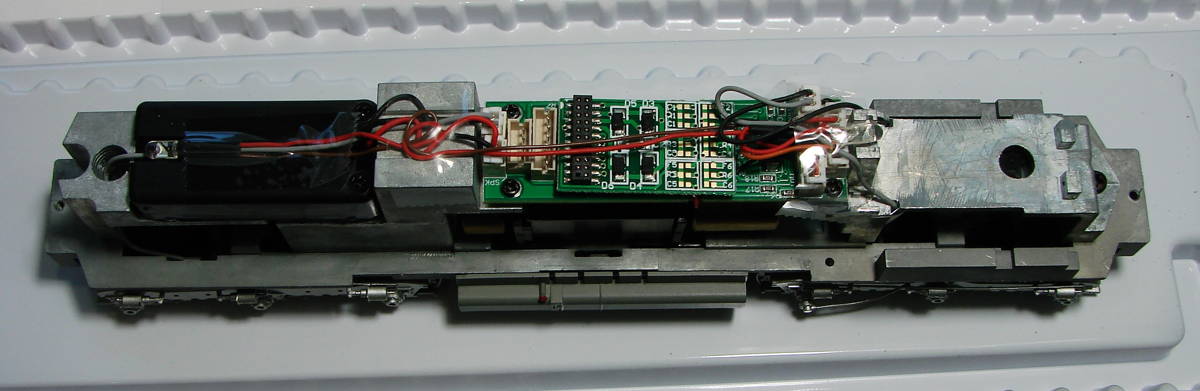
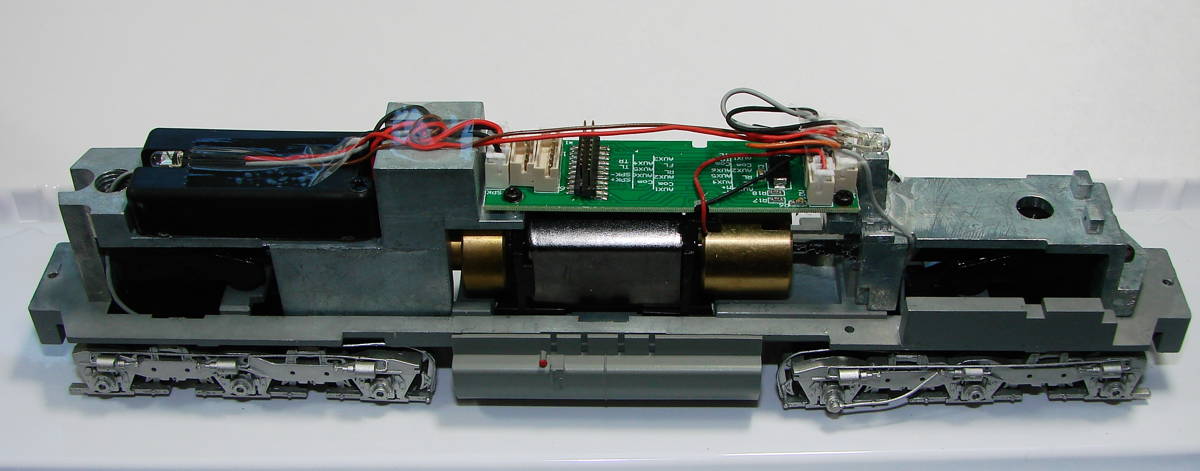
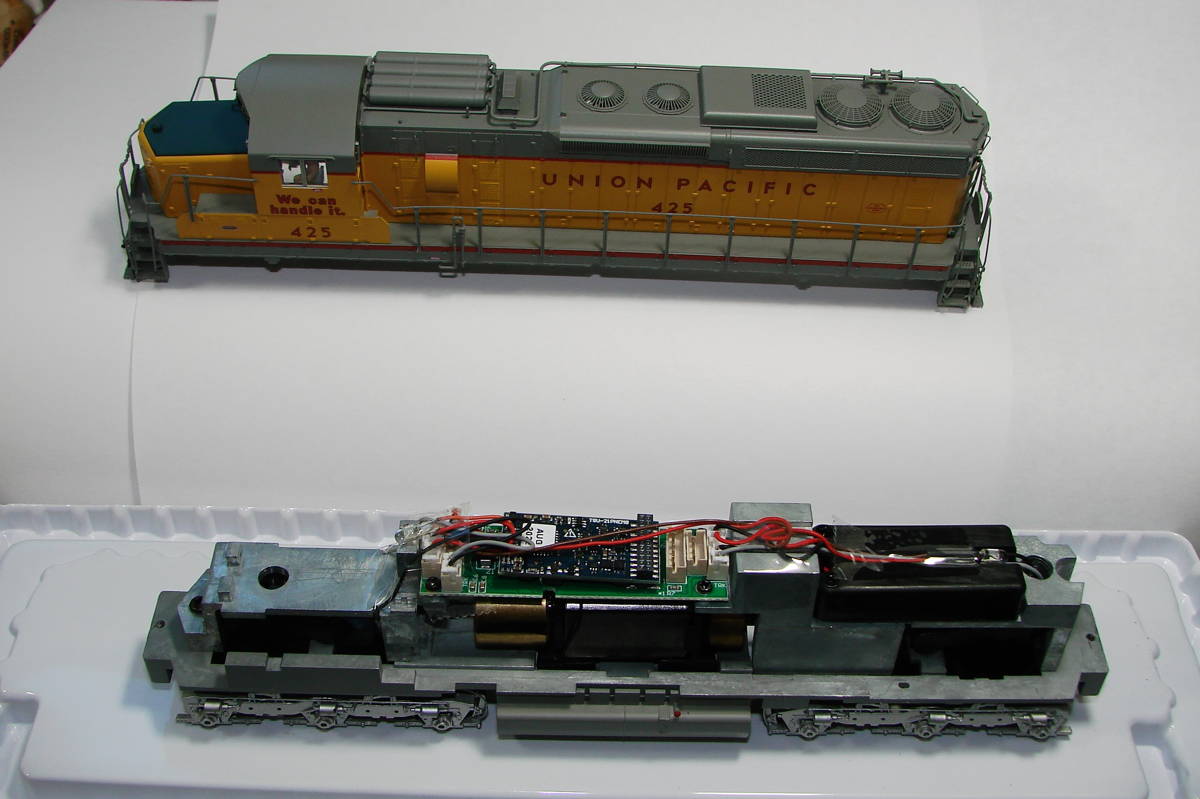
Here are two pictures of the model with the shell removed. These show the motherboard with the 21 pin shorting board in place for DC operation. The speaker box is shown supporting the headlight LED to the left. |
|
 |
|
 |
|
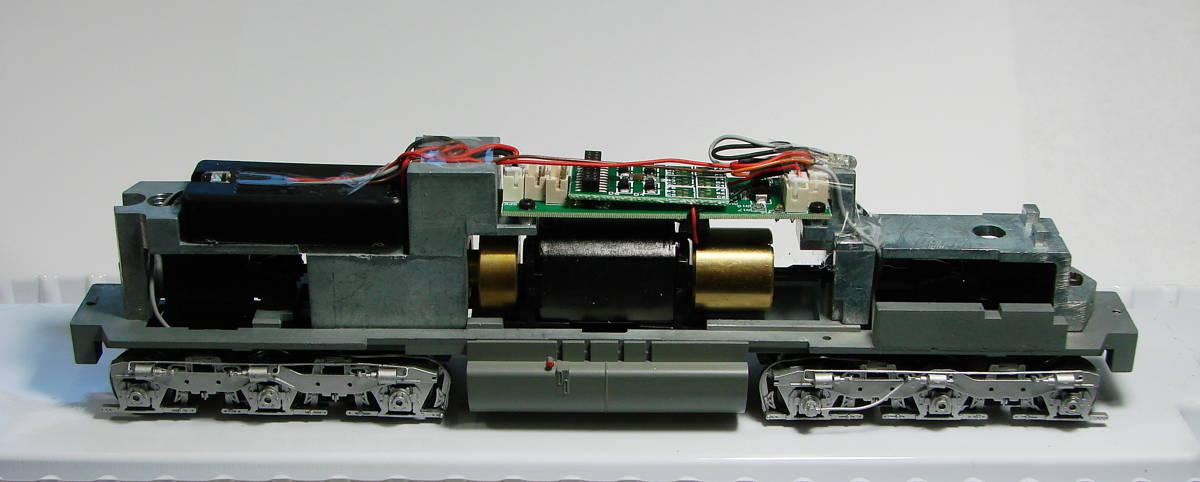
| Here are 2 views of the model, with and without the shorting board. | |
 |
|
 |
|
| This view shows the Soundtraxx 885809
TSU-21PNEM8 EMD Diesel decoder installed. Be sure to locate the index pin properly. |
|
| A closeup of the speaker box. | 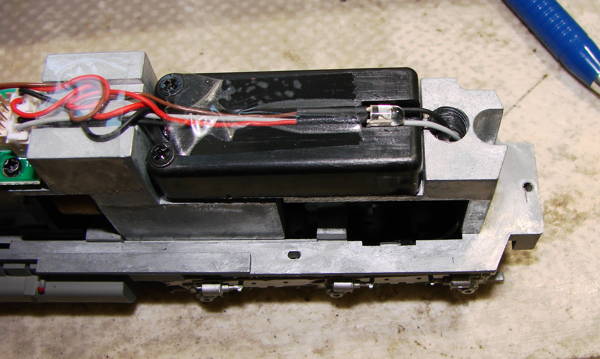 |
| A closeup of the motherboard with the decoder. |  |