Add A Soundtraxx Decoder To A Walthers SW7 / NW2
Jim Exler, Nampa, ID August 25, 2021
The model show here is the Mainline SW7. I recently did the same install on a Proto NW2 (2024 ver) and it is virtually the same except it already has a speaker installed.
To remove the shell, you do not need to remove the couplers. The shell is retained by the 5 tabs that can be seen in the picture below. Be sure to unhook the two handrails at the rear of the cab.
Once the shell is loose, there are wires to the rear light connected via a plug to the motherboard.
Some may notice in the top right corner of this picture, there is the chassis from a Lionel HO rubber band drive diesel of about 1965 vintage. We tinker with everything.
 |
|
| Here is the model with the shell removed. Note the 18 pin dummy plug in place for normal DC operation. The speaker box is to the left and supports the headlight LED. Remove the screws (2) from the motherboard and move it slightly to gain access to the speaker screws (4). | |
| Once removed, I found that the stock speaker box is molded as an enclosure for an 11 x 15 mm micro speaker. | 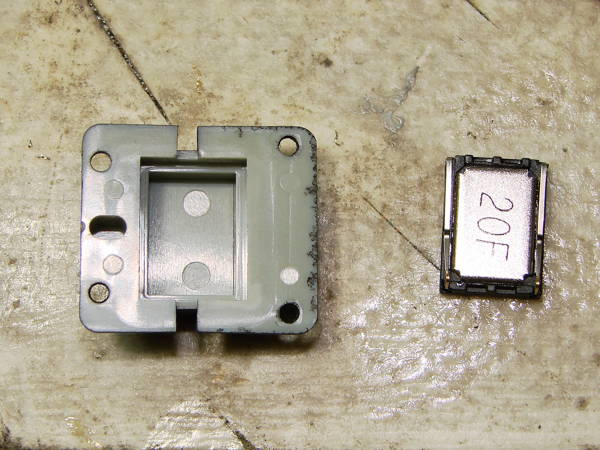 |
| Pictured is the speaker mounted in the housing. I like to use a very fine bead of acrylic caulk to secure the speaker; this way it can be removed easily. After mounting, solder the wires with a jst SR plug to the speaker. | 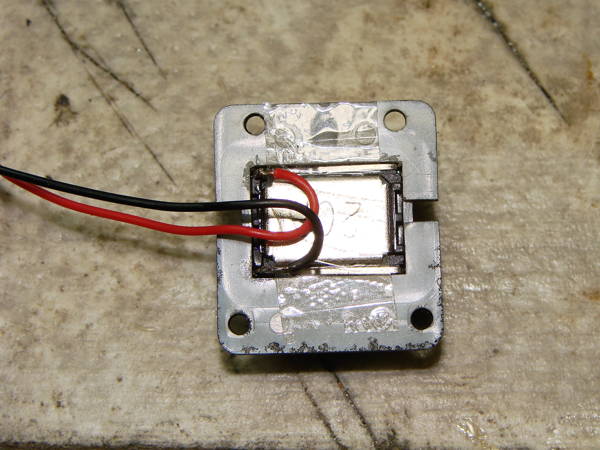 |
| This is the Soundtraxx 885030 - TSU-N18, EMD-2, Tsunami 2 decoder that will go in the model. |  |
 |
|
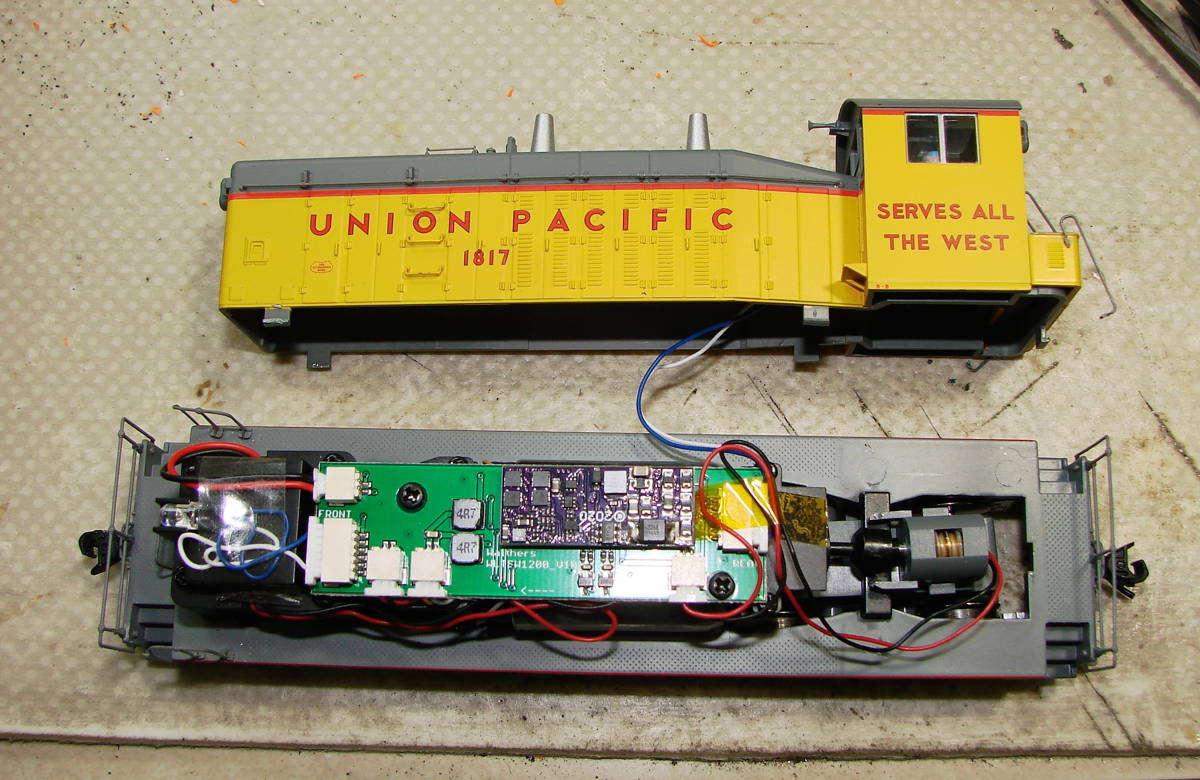
| The decoder is in place and the speaker is connected with a jst SR plug (top left) to the receptacle on the motherboard. This is an easy and very clean intall. | |