Connect The Feeder to the Track
Jim Exler, Nampa, ID November 25, 2022
There are many ways to connect the feeder wires to the track. I am using the method described here with success.
After having a couple of feeders separate from the rail in the past, this is the method that works for me.
The track in these pictures is Micro Engineering code 83 flex.
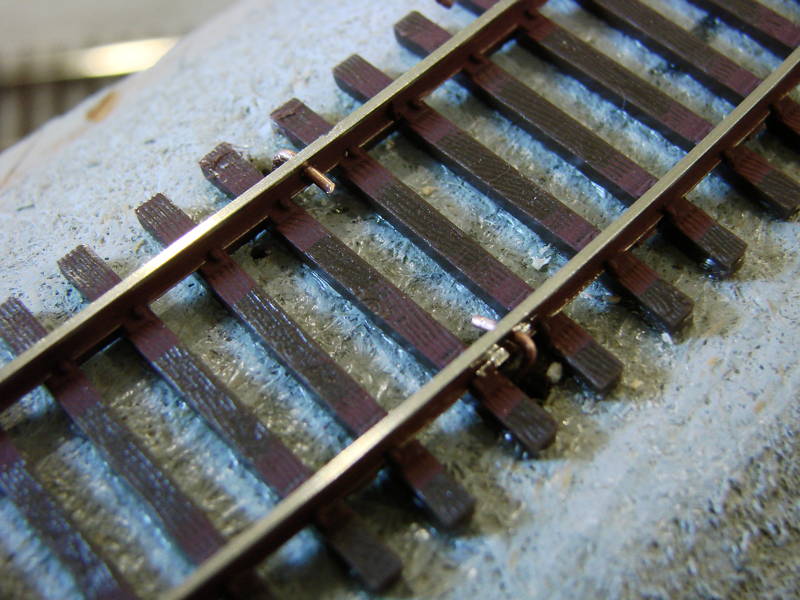
Pictured is an HO-HOn3 gauge block with a notch that I made with my 3D printer. A 3 point track gauge would work also. The model for this is on my 3D page. I place this on the track with the grooves aligned to support the rails and then drill a hole for the wire in the web of the rail. This relieves any pressure from the drilling on the spikes. For 20 gauge (0.032") solid feeder wires, I use a 0.9mm (# 65) drill bit to put a hole in the middle of the rail web. |
 |
Clean the area around the hole in the rail to insure a bright surface for the solder. Next, I drill a hole in the roadbed for the feeder adjacent the hole in the rail. After stripping about a 1/2" of the insulation from the feeder, I run it down through the roadbed and bend the stripped end into the hole in the rail. Apply a No-Clean non corrosive flux to the outside of the rail and wire at the connection point. I use Kester's 951 liquid flux but there are some good paste fluxes available. No-Clean flux does not need to be removed after assembly and will not cause corrosion at the joint. |
 |
Using a fairly hot chisel tip soldering iron, place the tip flat on top of the protruding wire pressed against the inside of the rail and immediately apply solder to the outside. The solder will quickly flow around the wire completing the joint with the hole in the rail and making a nice "pad" on the outside. |
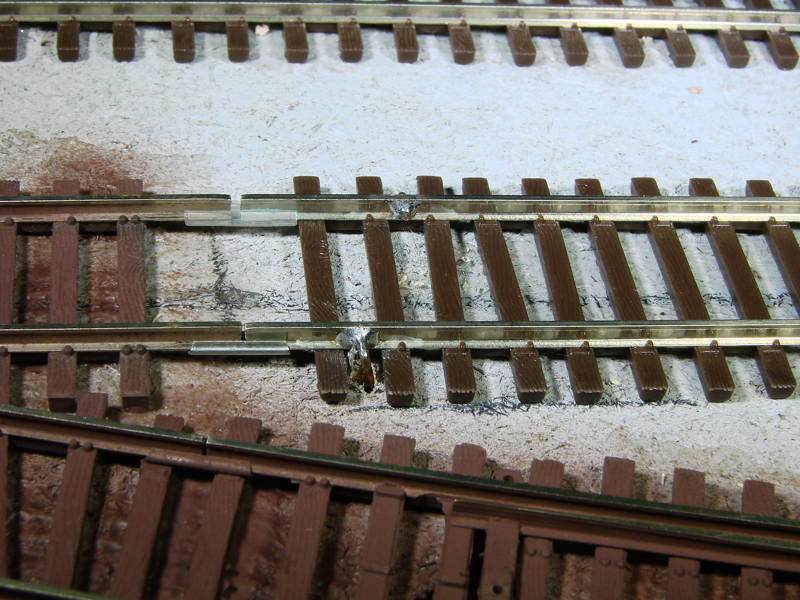 |
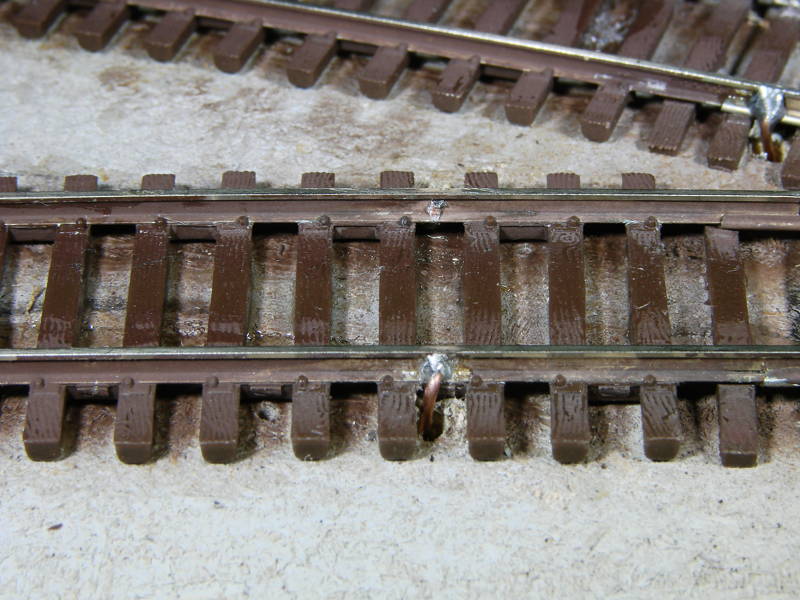
| After the solder cools, use a flush cut nipper or rail cutter to trim the protruding wire end flush with the inside of the rail head.
Here is a view of the solder pad on the outside and the inside after trimming. |
 |
Click for Model Railroad Home Page